Welcome to our painting tips section, designed to empower you with the knowledge and confidence to transform your spaces with paint. Whether you're embarking on a home improvement project or refreshing your office environment, our expert tips and advice will guide you through every step of the painting process. From selecting the perfect color palette to mastering application techniques, discover how to achieve professional-quality results that reflect your personal style. Let's embark on a journey of creativity and craftsmanship together with Berger paints.
Paint in the Right Conditions
Avoid painting in extreme temperatures or high humidity, as it can affect the drying time and overall finish of the paint.
Allow Proper Drying Time
Make sure to follow prescribed recoat time before applying the next layer.
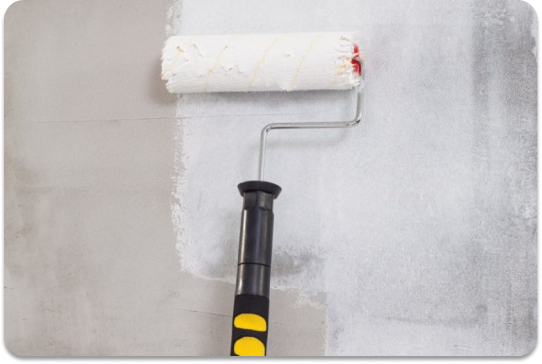
Surface Preparation
Ensure the surface is clean, dry, and free from dust and grease before painting. Use sandpaper to smooth any rough spots and fill any cracks or holes with putty.
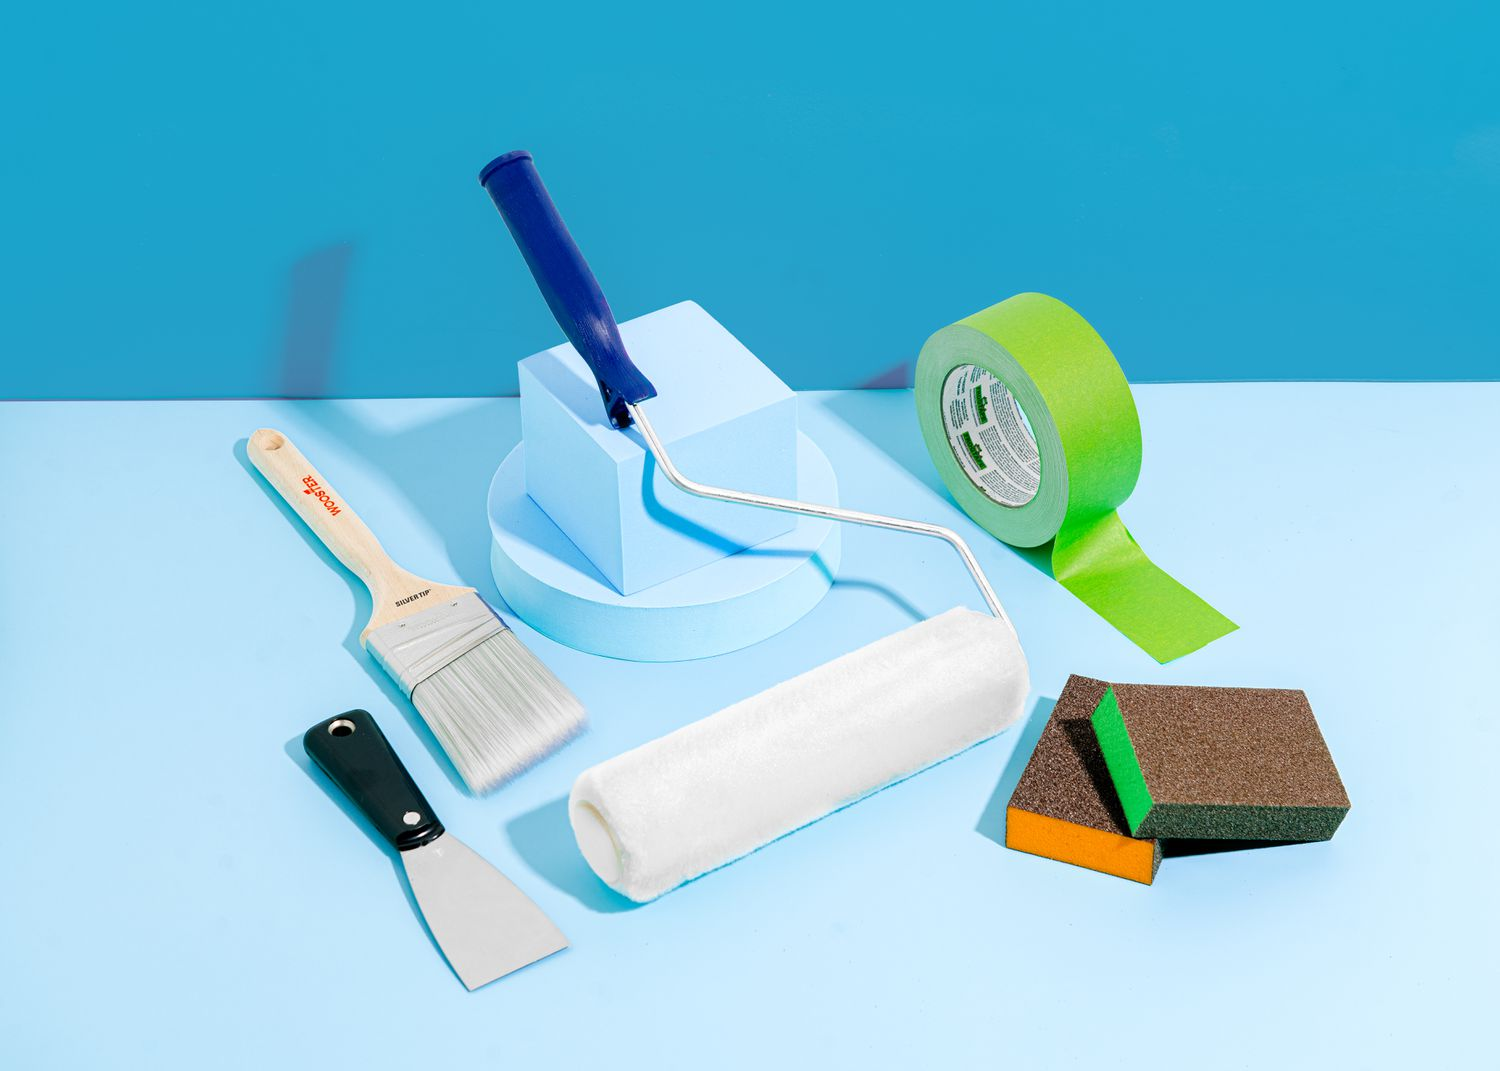
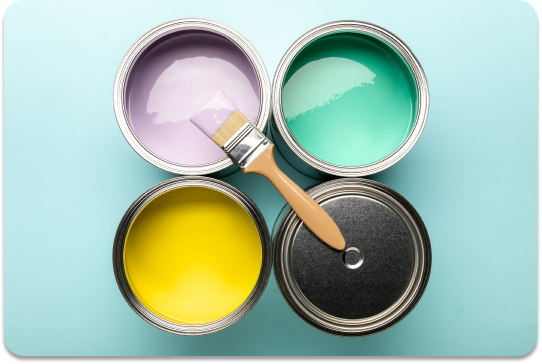
Choose the Right Tools
Select the appropriate brushes, rollers, or sprayers based on the type of paint and surface you're working with. This ensures smooth application and professional-looking results.
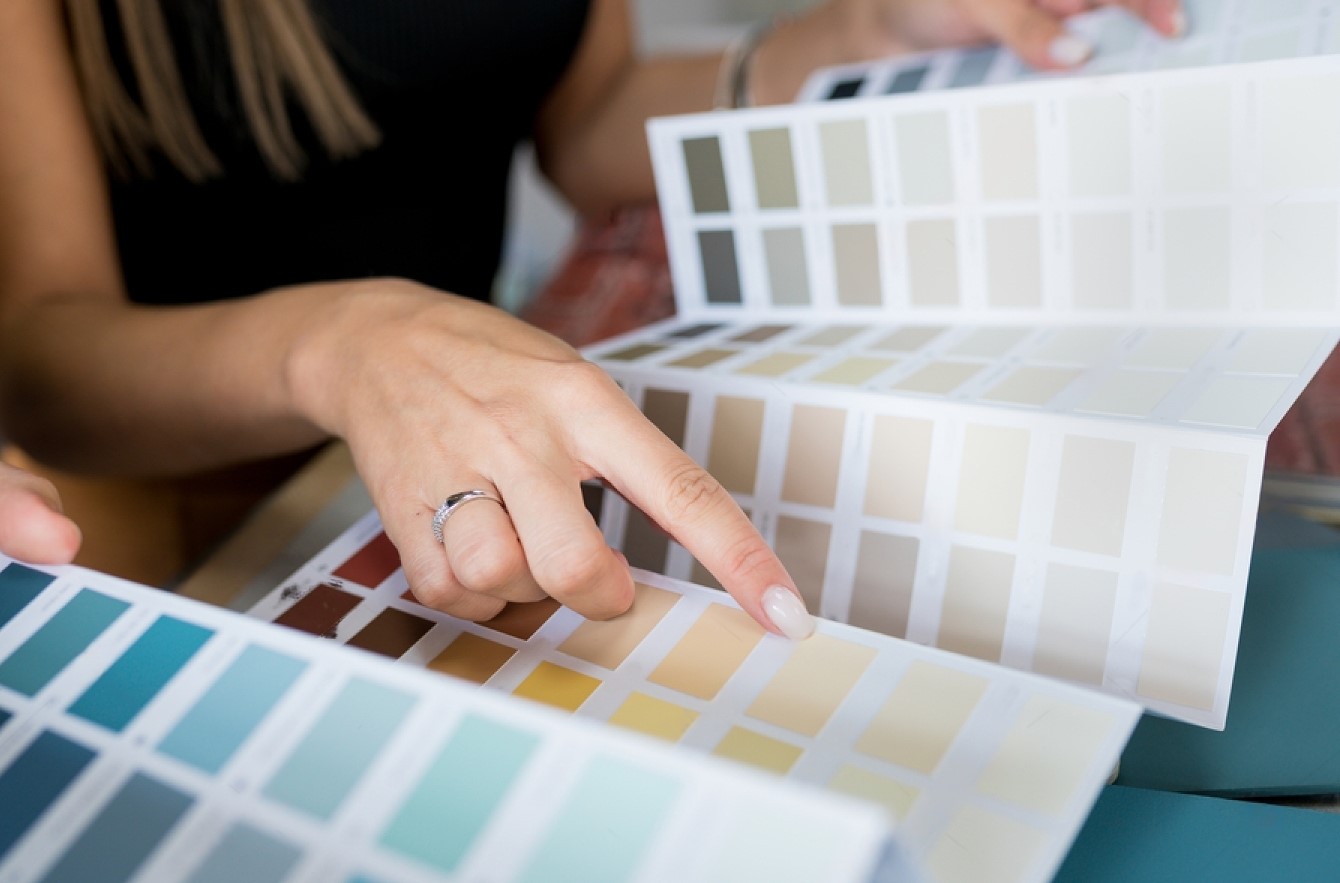
Selecting Your Color
You’ll find that different conditions yield slight variations in the appearance of a particular color or shade. When you take the extra time to investigate all conditions you’ll be able to choose the color that’s just right for you. Are you considering using a bold color for your next painting project? If so, take the size of the job into account when you’re selecting your color. Color tends to be intensified when used on large areas and you may end up with an appearance that’s not quite what you had in mind. If you’ve got a large surface to cover, try a color that’s a shade or two lighter-you’ll avoid a common pitfall and end up with the look you envisioned.
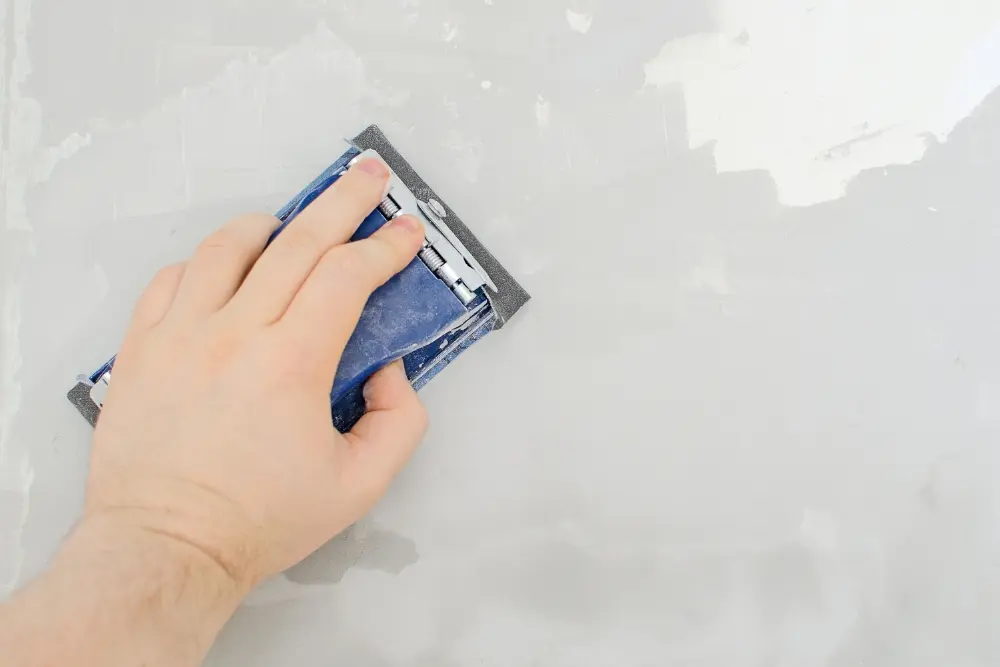
Improving Your Painting Surface/ Environment
There’s an easy, but often neglected, step that can give your interior painting projects near professional results with only a small investment of your time. Before you apply a single stroke, wash down your surface and inspect it for imperfections such as bumps or dimples. This can be done best by dimming the lighting in the room and placing a bright light source next to the surface to expose the imperfections. Once you’ve discovered the flaws, sand them or fill them as necessary, and wash again to give yourself the optimum painting surface. Before painting over a glossy surface, use fine sandpaper on the surface and wash down the area with water and a light detergent to achieve optimum paint adhesion. When you’ve got cracks or holes to fill, apply spackle into the imperfection with a putty knife and smooth the area so that its flush with the surface. After the spackle has dried, lightly sand the area to further ensure a smooth and even surface. You may find that the spackle shrank a bit while drying. If so, repeat the process a second time and remember to wash down the area with water to remove any dust before you paint. Before you begin your interior projects, take time to create the best working environment you can. Often times space is limited, if you can’t remove all your furniture from the room, cover the items with plastic to prevent a painting disaster. To obtain the best possible results, remove electrical faceplates and hardware, pictures and window treatments.
Read More